 ........Air-Intake
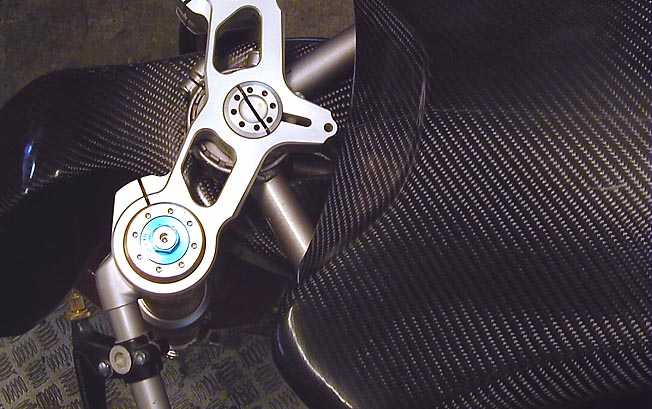
........Air-Intake
Well, I'm not a friend of Solutions we found nice and innovative yesterday.
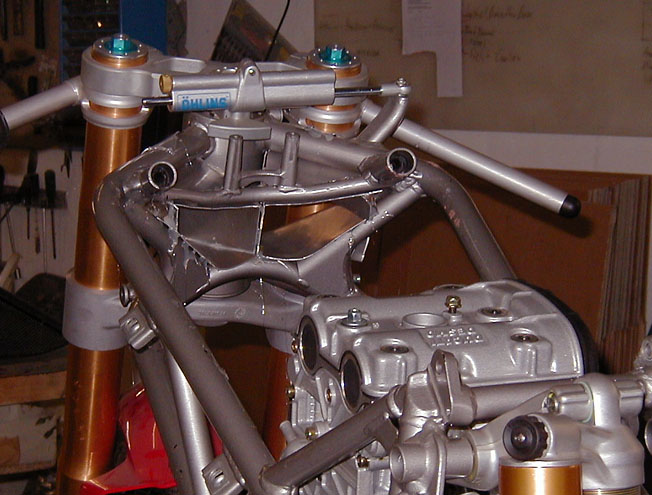
At the 999 front end (fairing/instruments-Bracket and Airintakes ) Ducati has made a lot of mistakes,mostly regarding weight and generally concept.You've got the Airtubes which have no more Function than being Airtube......., they hold nothing,opposite-they have to be held..and so on.The headlight housing is so far away from being worth to be mentioned , that not even a Ducati-Performance Magnesium substitute is in range of loosing a word about it .A lighter mistake is still a mistake.
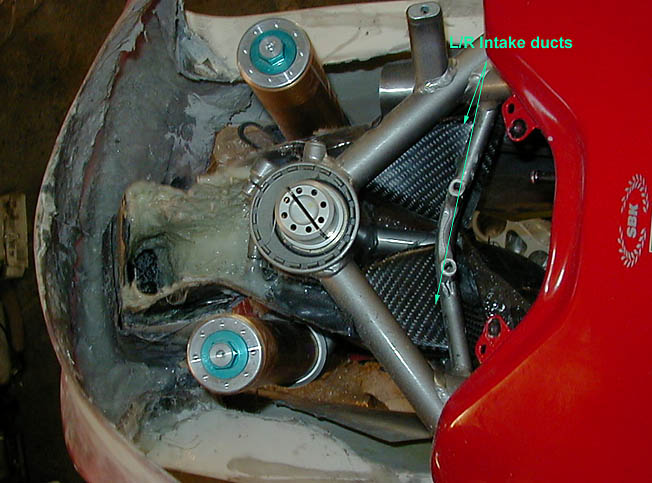
The most Important Q at present is where
to place the Intake.I don't want to for a centered inatake-mouth again,not
again...done this so often in the past. so at present it looks like one intake
rightside below fairing front/upper section.the right side then would be able to
duct Air somewhere else where I need it too...........
So what do we do ?
 That's the result
:
That's the result
: 
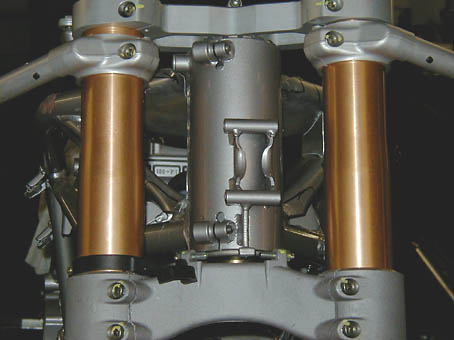
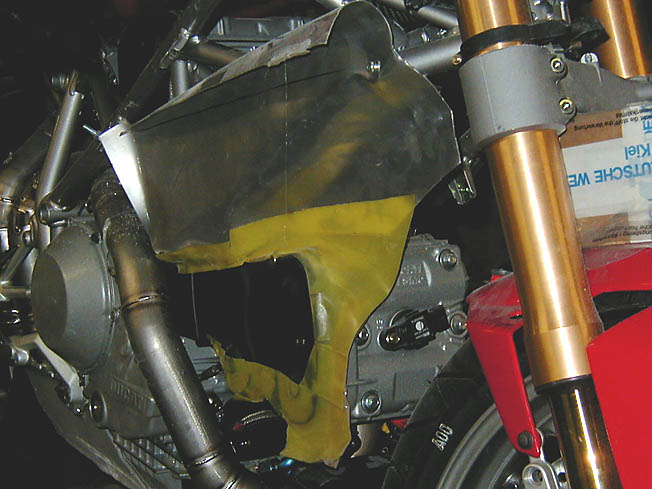
I use the gap between the fork legs and the Frame to pass the Air
through,mm-wise I'll use the space.And if I haven't miscalculated,then even one
side of my Air-Intake is at the same cross-Section,as both Ducati-Ducts
(OEM).Addittional it'll be fairing-Stay . I estimate my whole new Airduct
at 380gr,including those 2 small Airbox-connecting Ducts inside Frame. I think
I'll be able to shave 8-9 lbs only at that Section
Feb.20.04 :Making a long story short .The
Airduct-Model is done,means we're doing the mould at present. Wednesday we've
hopefully done the first one in Carbon,So I'll post the Pics here End of next
week.This is a 5-6000$ Snorkel,if I consider I'd just have have worked this Time
at all those orders I still have.
But that's part of my person,I 90% do what I want to do,others reverse ,they
want to earn money,so they don't do what they want to.However,from what I
know,when I have a closer look,which pic of this Web has been enlarged,and which
not, I've noticed (already since I started with my RC30 web 2000)
.............most people are only interested in finished Products,so shiny Gloss
carbon Pics,not those with all the dust and dirt around. But I assure you:
you don't have to clean your Computer if you enlarge following Pics.And it's a
great lesson to be able to re-enact why something sometimes is so expensive.
Ok,don't open.Give a post next year maybe at speedzilla or somewhere alse that
the Bits from Thorsten are much too expensive.Buy some nice gloss inexpensive
Carbon stuff from the copyshop,from those guys who want to earn money.
No comment necesary,just follow,it's self-explaining:
Pic 1 : 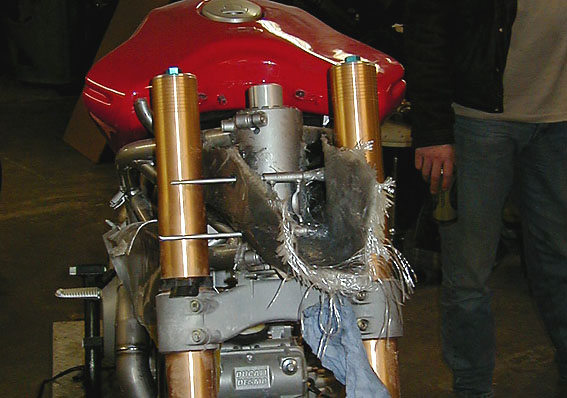 Pic 2:
 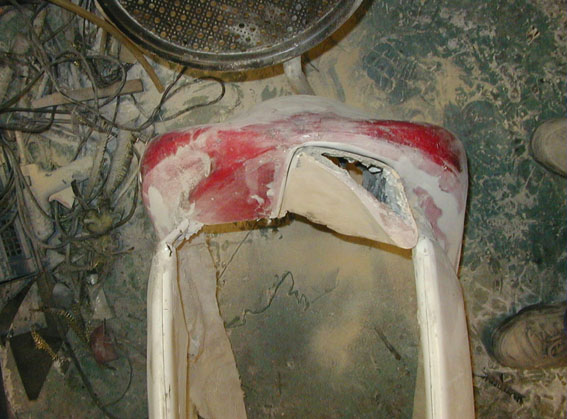 Pic 3 :
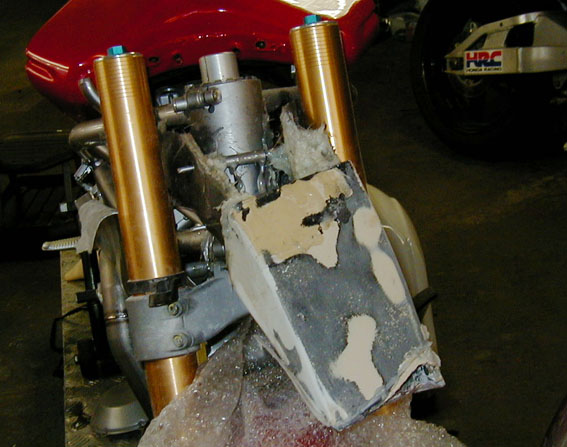
Pic 4: 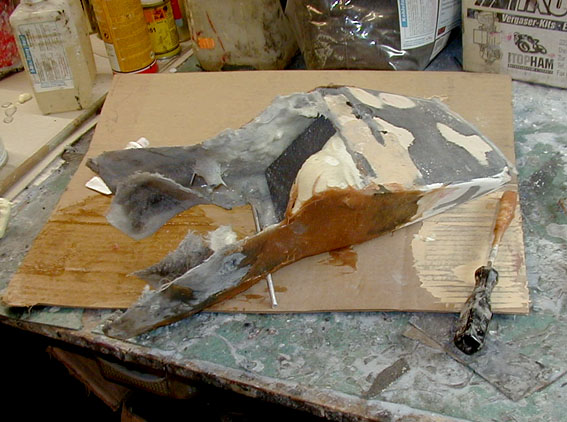 Pic 5:
 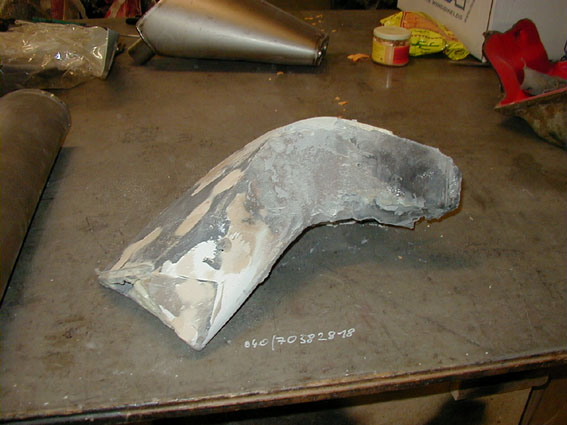 Pic 6 :
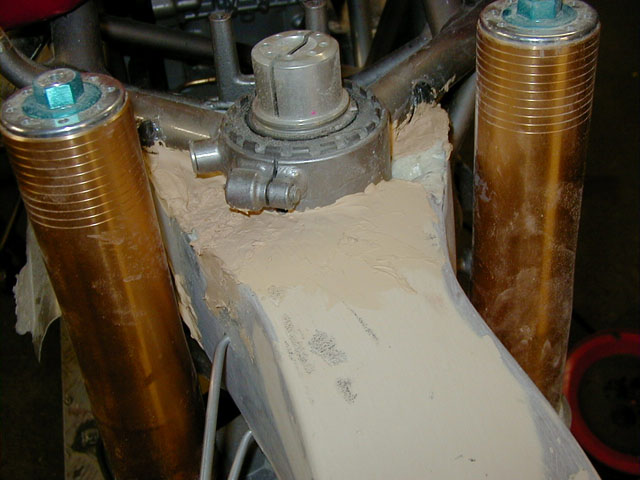
Pic 7: 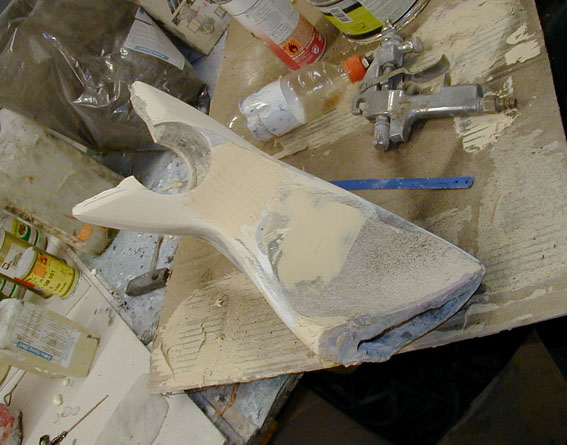 Pic 8:
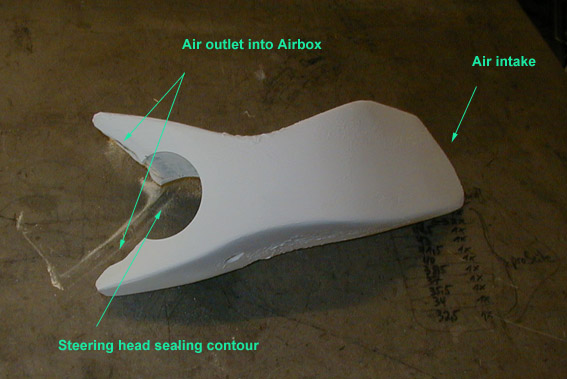